This recipe must first be prefaced with two statements:
- I love food – REAL food.
- When you’re consuming hundreds – no, thousands – of kCals worth of ride food each week, your body starts to crave that real food. See point 1.
Maybe I’m picky, but store-bought bars do not sit well with me. No matter how natural their ingredients, I always feel icky after 4 hours worth of bars on the bike. So, it should come as no surprise that I almost always make my own ride food. This past week, I tried one new recipe (dark chocolate espresso oatmeal cookies… holy.) and invented one of my own. I figure there’s no way I’m the only athlete out there who suffers from a real-food-addiction, and so I’ve decided to share this most recent creation with you all!
As a side note, I love all things bread. However, I really do believe that it’s important to have a balanced diet (even when on the bike). Though I don’t adhere to a gluten-free diet, I sometimes make gluten-free goodies in order to preserve that balanced diet. It pains me to say it, but too much of a good thing (even wheat) can turn out to be a real kick in the crotch. So, without further ado, here is my recipe for GF PB and Maple bars. Enjoy!
Gluten-Free Peanut Butter Maple Ride Bars
Ingredients:
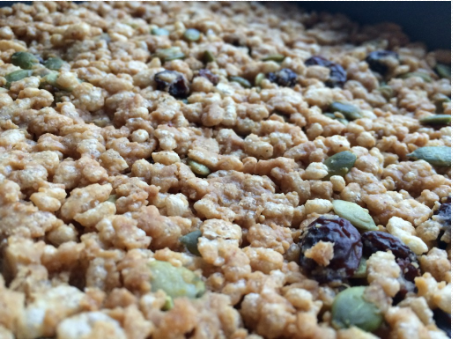
4 cups rice krispies
1 cup smooth peanut butter (I opt for natural, but these bars will stick together a bit better with the sugary stuff)
1/2 cup pure maple syrup (feel free to increase this to suit your taste buds)
1 tsp vanilla extract
1 egg plus 1 egg white
1/2 cup raisins or chocolate chips
Optional: 1/4-1/2 cup of nuts (chop them small so that the bars will stick together)
Directions:
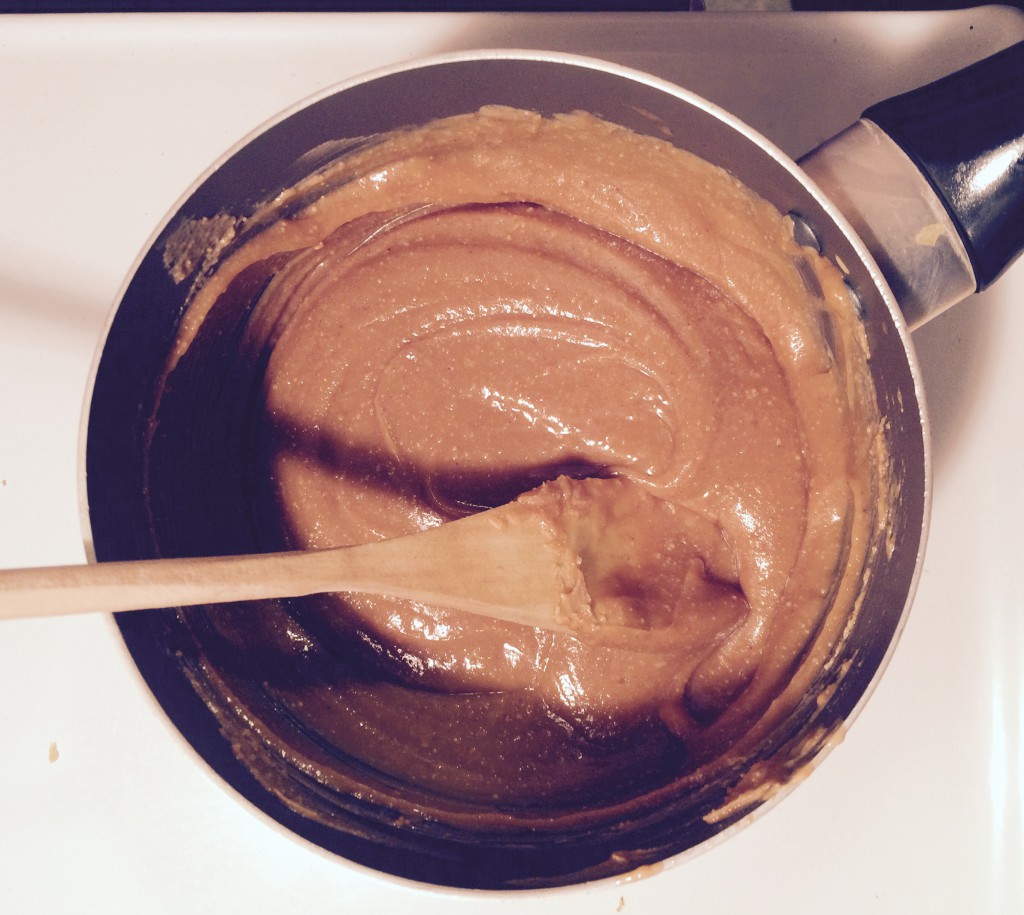
First off, preheat the oven to 250 degrees F. Then melt the good stuff in a pot on the stove. By that I mean the PB and the maple syrup (obviously).
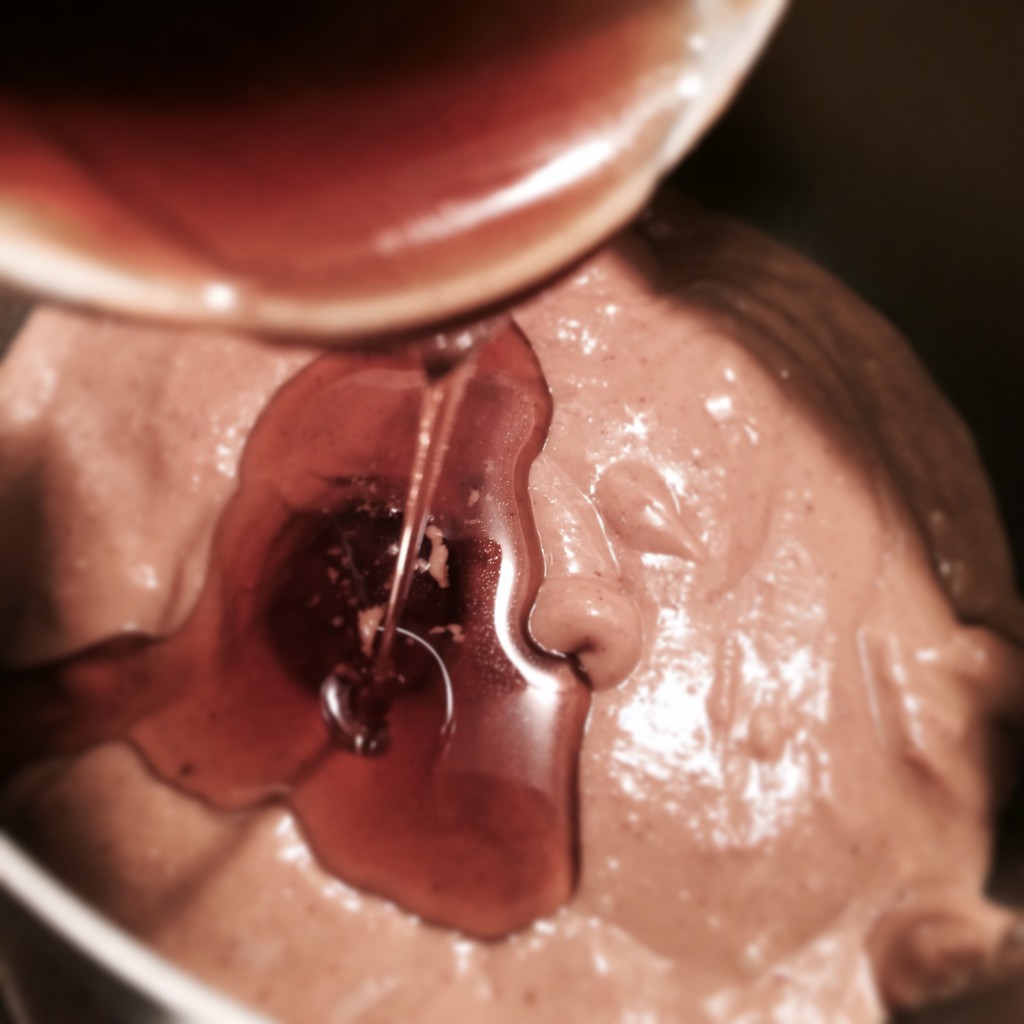
Once it’s all melty, add in the vanilla and stir it all up.
After adding the vanilla, remove from the heat and stir in your egg and egg white. Then, add this pot of heaven to a bowl with 4 cups of rice krispies. Stir in your raisins/nuts/chocolate chips.
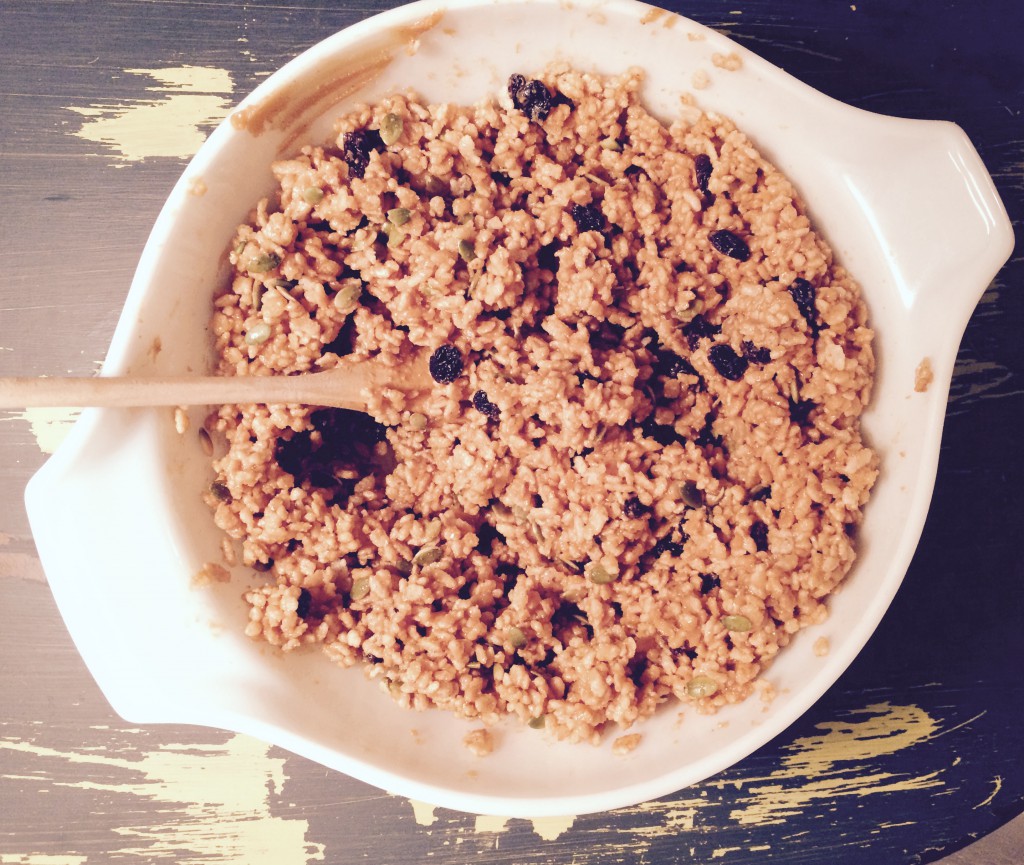
Now, press them into a greased pan (I used 9x13inch, but you can alter the size based on how thick you want the bars – an alternative is to use a muffin tin and make individual treats).
Bake these puppies for about 30 minutes – depending on your oven temp. accuracy, you may need to increase this time. When they’re done, they should feel firm and have a matte finish to them. Let them cool in the pan and then keep in the fridge. They should do for a week’s worth of ride food!
I hope you enjoy… happy training :)!